 Need Custom Website?
WordPress powers over 40% of websites worldwide — and for good reason. It’s flexible, easy to use, and offers endless customization options. Whether you want to start a blog, portfolio, business site, or online store, WordPress gives you the tools to build a professional website without coding.
This beginner’s guide will take you through everything you need to know to set up your first WordPress website — from choosing hosting and installing WordPress to customizing your design and launching online.
Why WordPress?
WordPress is the most popular content management system (CMS) in the world. Its open-source nature means it’s free to use, supported by a vibrant community, and constantly improving.
- Open-source & free: Unlike proprietary software, WordPress is completely free, giving you freedom and control.
- Highly customizable: With over 50,000 plugins and thousands of themes, you can tailor your site exactly how you want.
- User-friendly editor: The WordPress block editor (Gutenberg) uses drag-and-drop blocks, making page building intuitive even for beginners.
- SEO-friendly: WordPress’s code is optimized for SEO, plus plugins like Yoast SEO help you rank better in search engines.
- Scalable: Start with a small blog and grow into an e-commerce powerhouse without switching platforms.
Step 1: Choose the Right Hosting and Domain
Your hosting and domain are the foundation of your website.
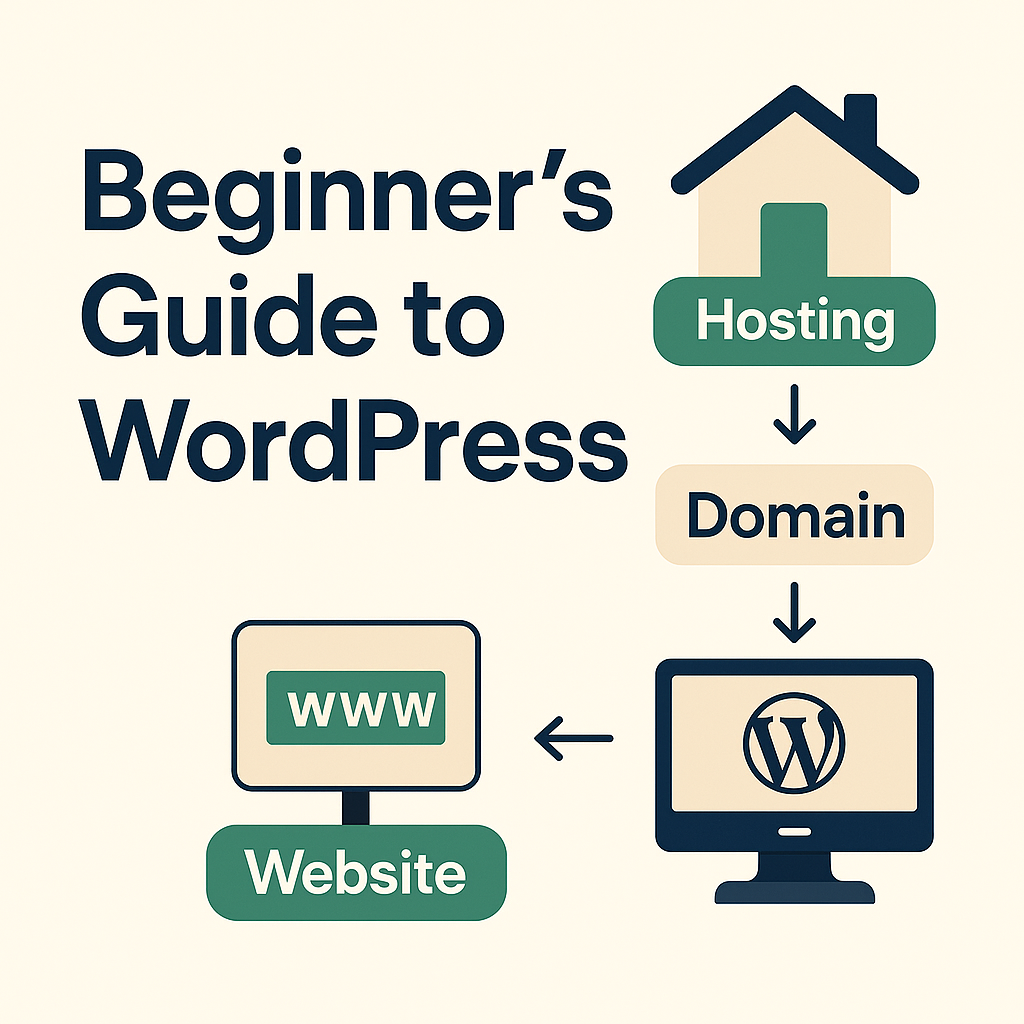
- Web Hosting: Think of it as renting space on the internet where your website files live. Good hosting ensures your site loads fast and stays online 24/7.
- Domain Name: Your website’s address (like example.com). Choose a domain that’s easy to remember and reflects your brand or content.
Choosing Hosting
Look for hosts optimized for WordPress with features like one-click install, automatic updates, and reliable support. Popular beginner-friendly hosts include SiteGround, Bluehost, and DreamHost.
Picking a Domain
- Use keywords relevant to your niche or brand.
- Keep it short, simple, and easy to spell.
- Avoid numbers or hyphens that confuse users.
- Use domain registrars like Namecheap or get it free with hosting plans.
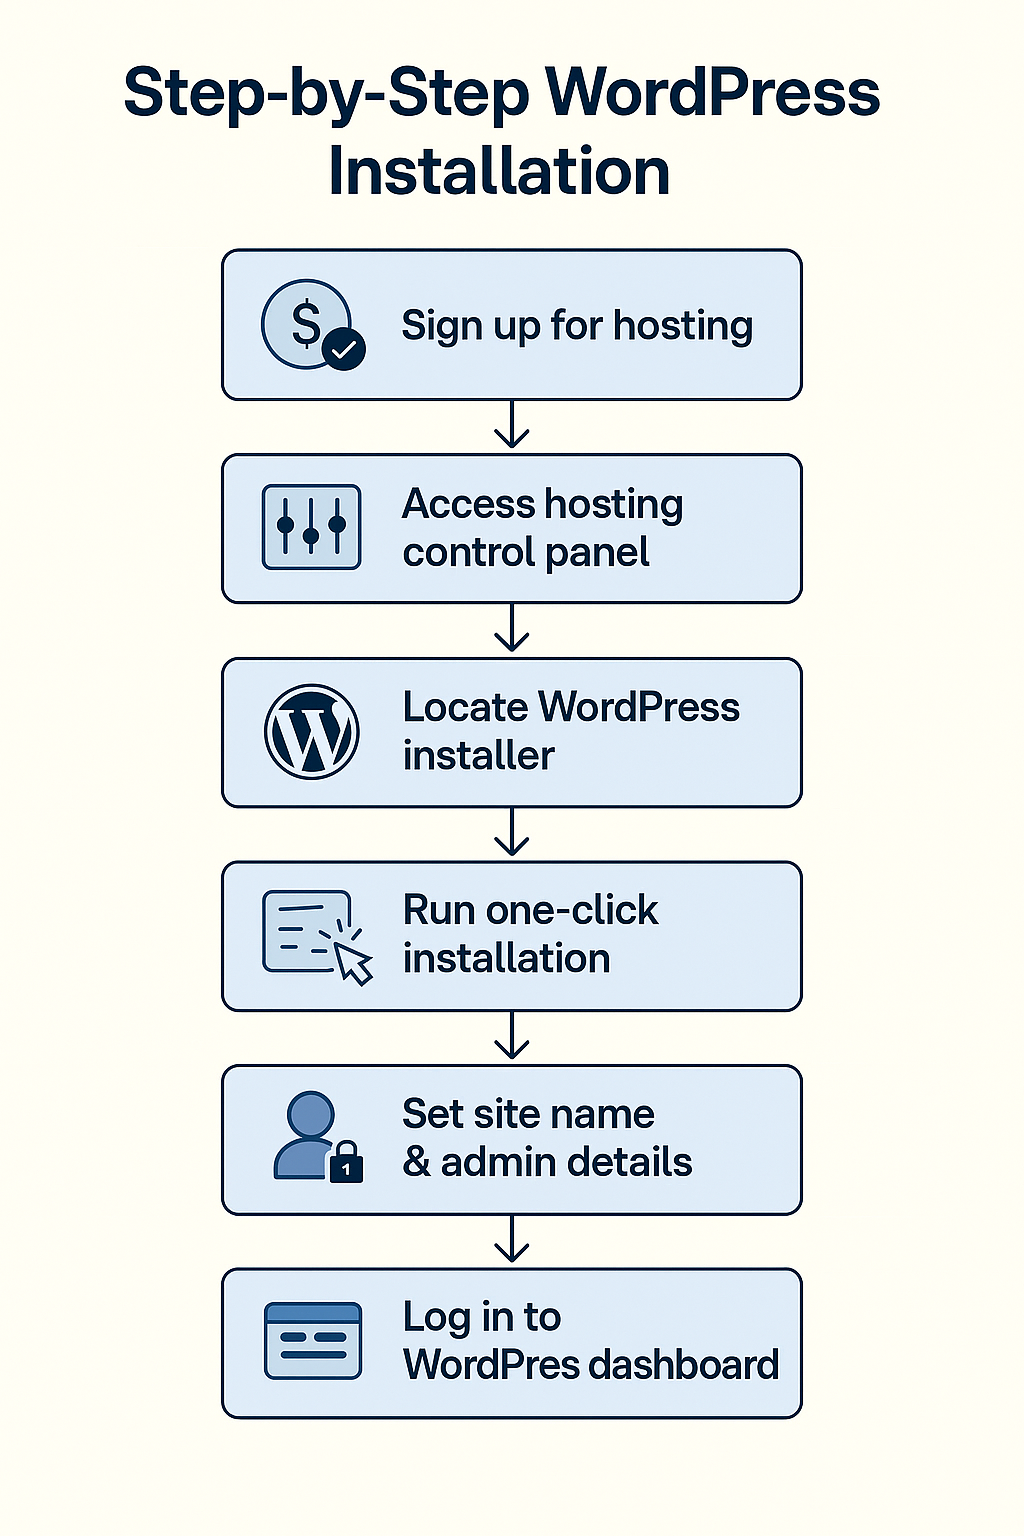
Step 2: Install WordPress
Most WordPress hosts simplify the installation process with “one-click install.” Here’s what to expect:
- Log into your hosting control panel (cPanel or custom dashboard).
- Look for WordPress installer or app installer.
- Follow prompts to choose your domain and site name.
- Set admin username and password.
- Install and get a link to your WordPress dashboard.
Once installed, access your site’s backend at yourdomain.com/wp-admin to start customizing.
Step 3: Choose and Customize Your Theme
Themes control the look and layout of your WordPress site.
- Start with popular free themes like Astra, GeneratePress, or the default Twenty Twenty-Three theme.
- Themes are customizable: change colors, fonts, header layouts, and more via the WordPress Customizer.
- For more design freedom, use page builder plugins like Elementor or Beaver Builder to drag and drop elements visually.
Tips:
- Choose a responsive theme that looks great on mobile and desktop.
- Pick a theme optimized for speed to keep your site fast.
Step 4: Install Essential Plugins
Plugins add functionality to your WordPress site. Here are essential plugins every beginner should consider:
- Yoast SEO or Rank Math: For optimizing your website content to rank well in search engines.
- WPForms or Contact Form 7: Easy tools to add contact forms so visitors can reach you.
- Wordfence or Sucuri: Security plugins that protect your site from malware and hacks.
- UpdraftPlus: Reliable plugin to schedule and manage backups of your site.
- W3 Total Cache or WP Rocket: Improve your website’s loading speed with caching.
Install plugins from the WordPress plugin repository via your dashboard under “Plugins > Add New.”
Step 5: Create Key Pages and Content
Your website needs pages that introduce you, explain your services, and engage visitors.
- Home: The landing page visitors see first — keep it clear and inviting.
- About: Tell your story and build trust with visitors.
- Contact: Add your phone, email, and a contact form.
- Blog: Share news, articles, or updates to attract visitors and improve SEO.
- Services or Shop: Describe what you offer or showcase products.
Write with your audience in mind, use headings, bullet points, and images to keep pages readable.
Step 6: Optimize for SEO and Performance
SEO helps your site get found on Google and other search engines.
- Use SEO plugins to add titles, meta descriptions, and generate XML sitemaps.
- Optimize images with compression plugins like Smush or Imagify.
- Use caching plugins and CDNs (Content Delivery Networks) to speed up your site.
- Choose a fast, reliable host to reduce server response time.

Regularly update your WordPress core, themes, and plugins to keep your site secure and fast.
Step 7: Launch and Promote Your Site
Before launching:
- Preview your site on desktop and mobile.
- Test links, forms, and loading speed.
- Set up Google Analytics and Google Search Console to track visitors.
After launch:
- Share your site on social media and email newsletters.
- Engage with your audience via comments and blog updates.
- Keep adding fresh content to boost SEO and user interest.
Summary and Next Steps
Building a WordPress website can seem overwhelming, but step-by-step guidance and the right tools make it achievable for anyone. Use this guide as your roadmap and take your time to explore and learn.
If you want personalized help, check out our Website Starter Tool — it matches you with the best hosting and developers for your budget and goals.